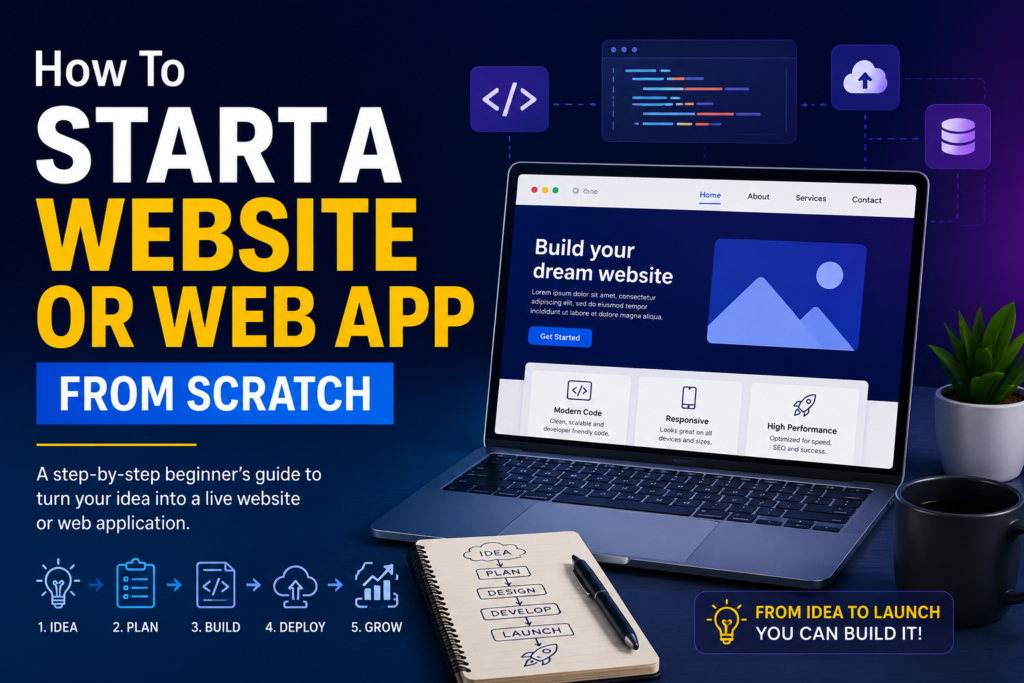
How To Start A Website Or Web App From Scratch: An In-depth Guide
+
Table of Contents
- 1 Step 1: Get Brutally Clear on What You’re Actually Building
- 2 Step 2: Sketch It Out Before You Write Any Code
- 3 Step 3: Build the Thing (and Where AI Truly Helped Me)
- 4 Step 4: Find the Resources You’re Not Interested in Building In-House
- 5 Step 5: Pick Hosting, Don’t Overthink It, Don’t Underthink It
- 6 Step 6: Test Like You’re Trying to Break It
- 7 Step 7: Launch, and Then Actually Tell People
- 8 Step 8: Keep Iterating (This Part Never Really Ends)
- 9 What I’d Tell Past Me
I can vividly recall that moment when I first attempted to create a website for the internet. I had a brilliant idea, a lot of youthful optimism, and didn’t have a bloody clue what I was doing. I persevered for three weekends, bashing my head against a hosting control panel, peering into Google at 1 AM asking “what is DNS,” and then I threw in the towel and took a two-month sabbatical out of frustration.
Jump to present day: I’ve built a few sites and some small web apps, and I have made every mistake you can make along the way. This is the guide I wish someone had given me when I was just starting. No BS, no “just follow these 5 easy steps” crap. Just what worked for me, in the sequence I actually did it.
If you are sitting on an idea right now and are unsure where to begin, maybe this will spare you from a number of the frustrations I encountered.
Step 1: Get Brutally Clear on What You’re Actually Building
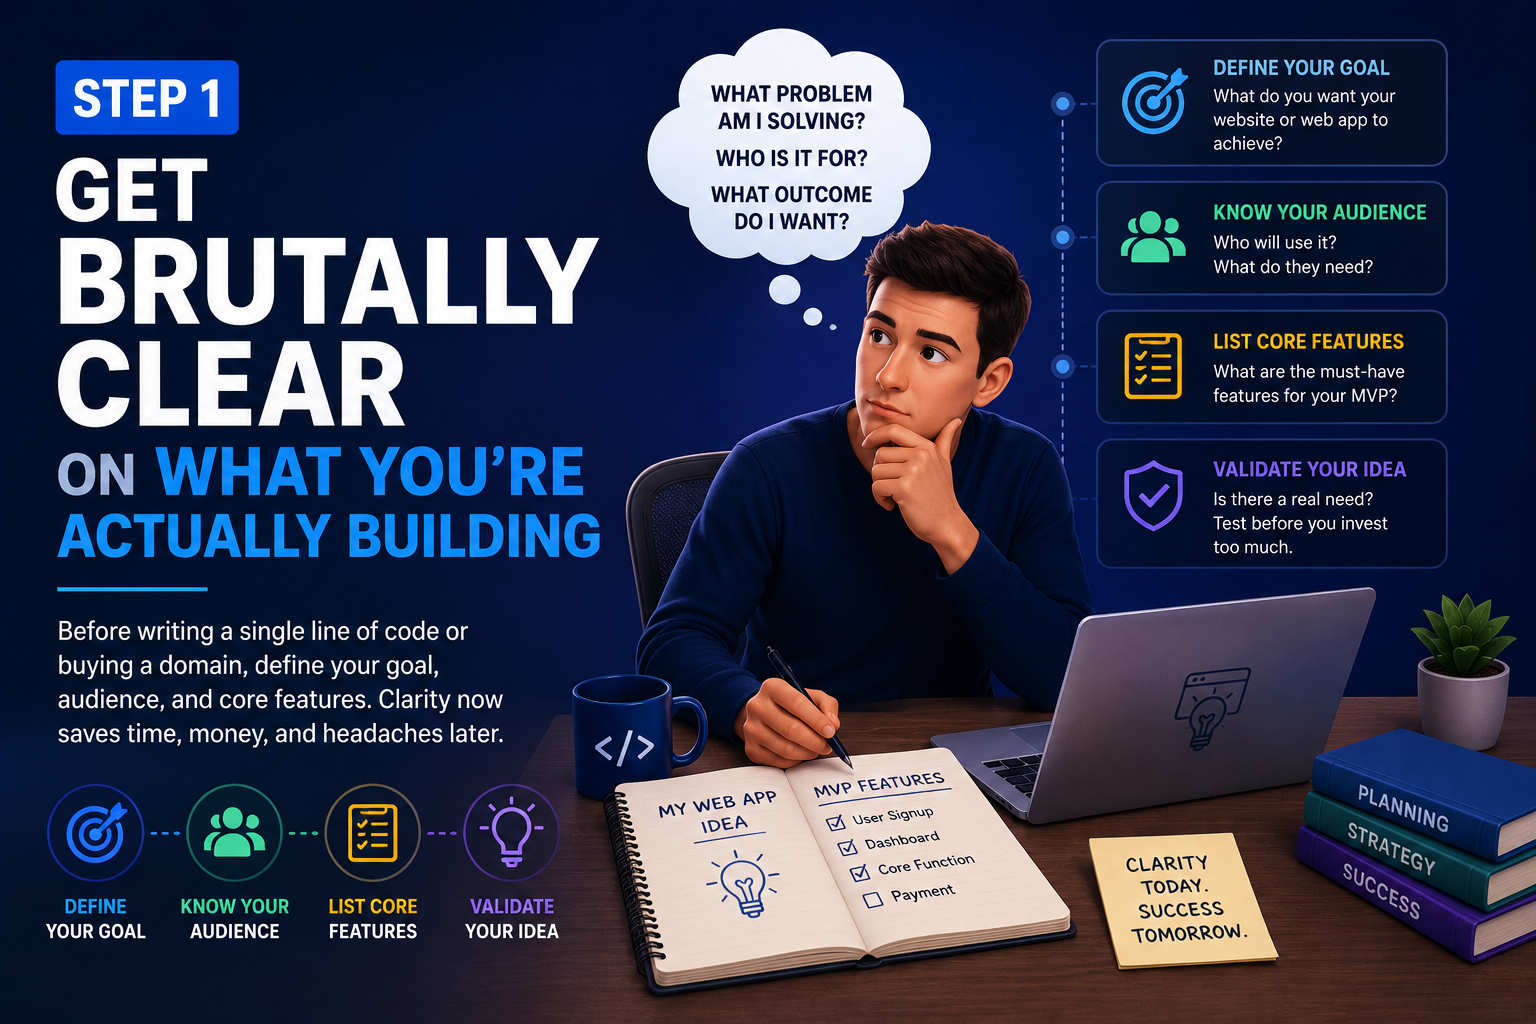
Before I touch a single tool, I force myself to answer three questions:
- Is this a website (mostly static content, blog, portfolio, marketing page) or a web app (something with user accounts, a database, real functionality)?
- Who is this actually targeted at?
- What’s the one thing it needs to do well on day one?
This is significantly important because your answers here determine nearly every technical decision made afterward. A portfolio website and a SaaS dashboard have very different requirements, and trying to over-engineer an easy website (or under-build a complicated app) is where many first-time builders end up wasting weeks.
I learned this lesson the hard way while working on my second project. I planned a “simple blog” which, three weeks in, had user logins, comment threads, and an unnecessarily elaborate notification system. I wasn’t actually building the thing people wanted; I was building what looked most impressive. Don’t do that. Jot down the real goal on a sticky note, and look at it every time you’re tempted to add “one more feature.”
Step 2: Sketch It Out Before You Write Any Code
I am certainly not a designer, and for years I thought that meant I could skip this step. Huge mistake. Even a simple wireframe, boxes and arrows in a free app or sketched on paper, will save you from having to remake half your design later.
Here’s how I do it these days, embarrassingly low-tech: I open a notes app, start a list of everything I want to build, and under each page or screen, homepage, pricing page, sign-up flow, dashboard, whatever, I write the two or three things that need to be there. I don’t think about colors, type, or any of that stuff at this point. I just want to get the skeleton down first.
This is also when I pick my tech stack. For fairly straightforward sites, I usually use a static site generator or a no-code builder. For anything complex, I pick a framework I’m comfortable with and try to keep my tech stack as uninspired as possible. Boring technology ships. Exciting technology becomes a blog post about why your launch was delayed.
Step 3: Build the Thing (and Where AI Truly Helped Me)
This used to be the hardest part for me, and honestly, it’s the part that has changed the most since about last year.
I used to hand-roll all my code from scratch, so a huge portion of my working hours went into boilerplate, auth flows, form validation, API scaffolding, all the things you need but that don’t get you excited. I’ve started using agentic AI tools to knock that grunt work off my plate, and it has genuinely changed how quickly I’m able to move. I’ve been testing out Sipalu AI for this: you type what you want built, and instead of just returning a chunk of code, it functions more like an actual agent; it maps out the plan, codes it out, and can even help wire the parts together rather than leaving you to stitch everything up manually.
I’m not suggesting it replaces having total mastery of your own code (please still have mastery of your own code), but it has dramatically reduced my time getting from an idea to a working prototype. I use it to handle the scaffolding for the dull 70%, then I come in and do the careful, discriminating work on the 30% that really counts for my specific project.
A few things I’ve learned about building this stage, AI-assisted or not:
- Build the core flow first. For an app, that might be sign-up → main action → result. Make sure the core flow works end-to-end before building anything else.
- Don’t get caught up in styling until the functionality works. I’ve spent countless hours perfecting a button that lived on a page I later deleted.
- Commit your code frequently. Seems obvious, but I didn’t take source control seriously until I had to redo two days of work because a file overwrote itself. Learning that lesson the hard way was painful.
Step 4: Find the Resources You’re Not Interested in Building In-House
No matter how good your AI tooling is, there’s always a gap, a plugin you need, an icon set, a chunk of code someone else knocked out in an hour that you could never pull off in the same time, or, more honestly, just another developer to talk to when you’re stuck and frustrated.
This is where I started spending time on eKuraa. It’s a hybrid of a tech community and a resource marketplace, and I’ve found it useful in both capacities. When I run into a strange CSS glitch, a configuration problem, or whatever else, I can just post the issue and actually get responses from people who’ve hit the same wall and come out the other side. And when I don’t want to build something from scratch, there are ready-made templates, copy-paste code snippets, and digital assets from other developers that save considerable time. It’s basically become a tab that stays open all the time while I’m working, somewhere between a forum and a toolkit.
If you’re building solo (which most first-time launchers are), a community like that matters more than you’d think. It’s not just about knowing where to find resources; it’s about not getting stuck on something for six hours when someone else already solved it yesterday.
Step 5: Pick Hosting, Don’t Overthink It, Don’t Underthink It
Hosting was what I was most afraid of the first time around, and in retrospect, it really wasn’t that bad. I read a dozen comparison articles and got more confused with each one before I nearly threw in the towel.
Here’s what actually matters when picking hosting, based on what’s bitten me before:
- Match the hosting to what you’re actually doing in the project. A static site doesn’t need the same infrastructure as a database-backed app. Don’t pay for or configure more than necessary.
- Uptime and support matter more than you think until your site crashes at 2 AM and you have no clue how to fix it fast. I know this because it happened to me during actual traffic, and I was clueless.
- Make sure scaling later isn’t a pain. You don’t need enterprise infrastructure from day one, but you also don’t want to rebuild your entire hosting setup the moment you get a bit of traffic.
For my last two projects, I went with Bisup for hosting. The reason I chose it was purely how little I needed to think about it, setup was easy, you didn’t need a PhD in cluster computing to deploy, and support actually responded when I had questions instead of leaving me in a ticket queue. I wanted to set it up and mostly forget about it, and that mattered a lot more to me than a hundred configuration options I’d never touch.
Whatever you choose, actually understand the limits of your plan before you launch: bandwidth caps, storage limits, that kind of thing. Discovering you’re about to hit a limit in the middle of a launch is not a happy surprise.
Step 6: Test Like You’re Trying to Break It
Before I let another human see anything, I do a deliberate crash test on my own site or app. Click everything. Submit every form incorrectly. Resize the browser to a ridiculous width. Use it on my phone with bad wifi.
And every single time I skip this step, some obscure bug slips past me. A link that doesn’t work. A form that deletes everything you typed if you refresh at the wrong moment. A design that looks fine on my laptop and looks like a car crash on my phone. Ten minutes of intentionally frustrating yourself with your own product will save you hours of later embarrassment.
This matters even more if you built with AI assistance, not because the output is unreliable, but because you should always know and see exactly what’s running before any real users get involved.
Step 7: Launch, and Then Actually Tell People
This may sound obvious, but an astonishing number of projects (including a couple of mine) get built, get deployed, and then just… sit there, because the person building them ran out of steam right before the “tell anyone about it” part.
I keep my first launch small on purpose: a few friends, a community that makes sense, one piece of social media. I’m not trying to go viral. I want authentic, real-world feedback before I spend more time building features that nobody asked for. Every user who says “this wasn’t clear to me” is worth a week of you trying to guess what’s unclear to them.
Step 8: Keep Iterating (This Part Never Really Ends)
Launching isn’t the end of the game; it’s more like the starting pistol. The moment real users start using the thing, you’ll immediately discover how wrong you were about some of it. Some of that feedback will sting. Most of it will make whatever you’re building better.
I try to quickly fix the glaring issues, file away the “would be nice” feedback for a while to see if it resurfaces, and hold back the temptation to rearchitect the whole thing after one negative comment. Not all feedback warrants a code change, but all feedback deserves a hearing.
What I’d Tell Past Me
If I had a chance to do it all over again and offer my first-launch self some advice, it wouldn’t be about any particular tool or framework. It would be this: done and imperfect will always beat perfect and unlaunched.
I had some early projects that I spent months on, only to leave them rotting in a sandbox because I kept telling myself “just one more feature” while everyone else was thinking “ship.” The projects that actually made a difference were the ones I shipped while they were still a little green.
Build the core thing. Leverage whatever tools get you there faster, whether that’s an AI agent taking care of the tedious scaffolding, a community pointing you toward a resource you had no idea existed, or a hosting setup that just works so you can stop thinking about servers and start thinking about your actual product. Then put it out there, see what happens, and work from there.
That’s really the entire process. It’s easier than it looks from the outside; it just takes going through it once to actually believe that.